


Potting up is necessary to allow your plant to be all they can be. Usually it’s pretty obvious when it’s time to pot up as your plant will be sending some obvious signs. Look out for roots coming out the bottom or top of the pot, or stick your finger down a couple of centimetres and see the roots have hit the pot wall and are now running along it. If so, it's Potting Time. Before you start we’ve got a few tips to make sure the process is as stress and mess free as possible.
- Have a tarp or sheet laid out to work on. This will keep the mess concentrated and make the clean up easy as.
- Have everything you need within reach. It’s the worst when you’re halfway through repotting and you’ve got to get up and try to open doors or drawers with your dirt-covered hands.
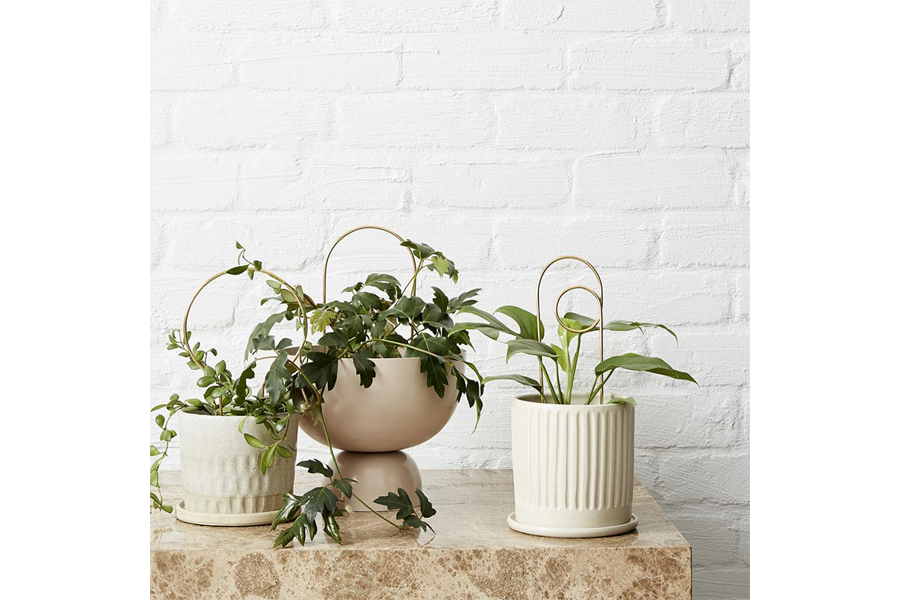
- Choose the right size pot for your plant. Make sure the plant has plenty of space to grow but keep the pot size in proportion from a design perspective. Most plants won't like to go up too many pot sizes in one move - this can encourage root rot as the excess soil will hold more water but your plant might not be capable of taking it all up!
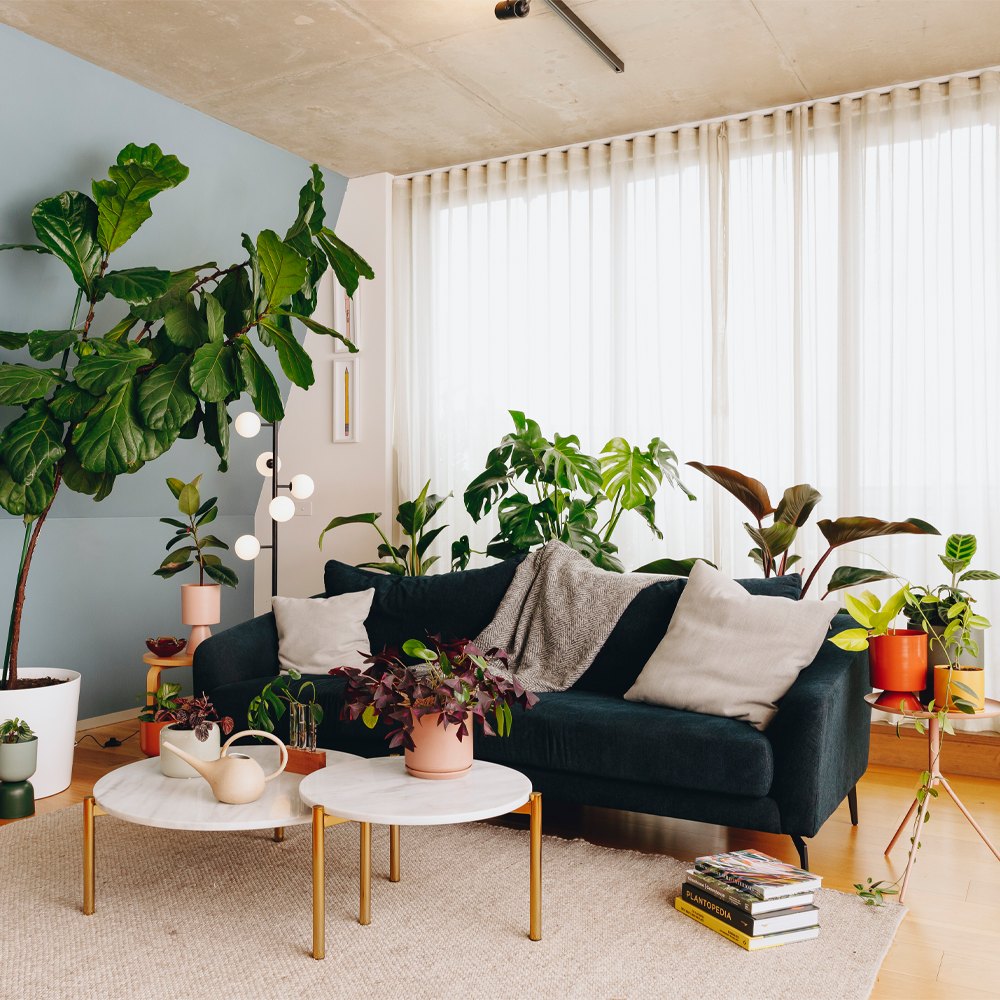
- Think about where you’re placing the finished product - if you’re going large it might be wise to pot up close to the intended final spot to save on unnecessary heavy lifting
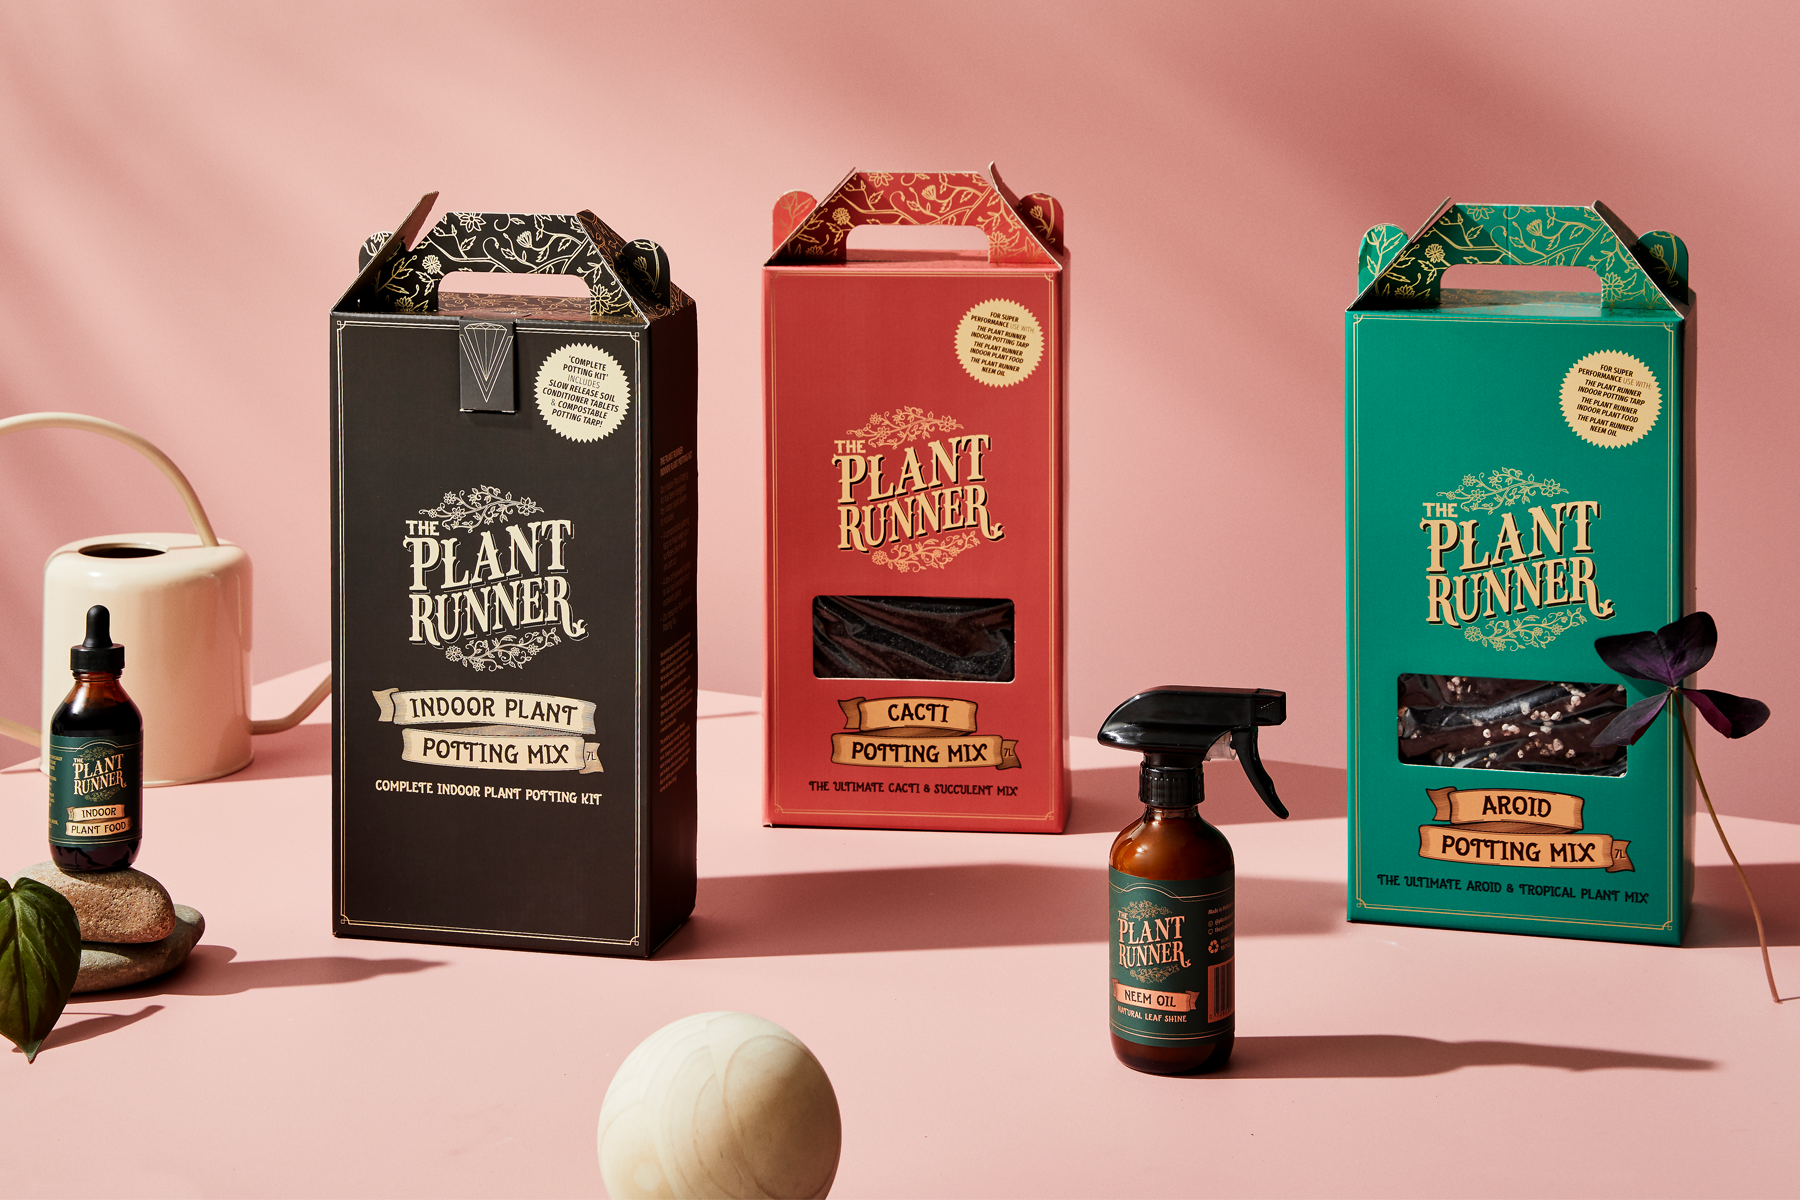
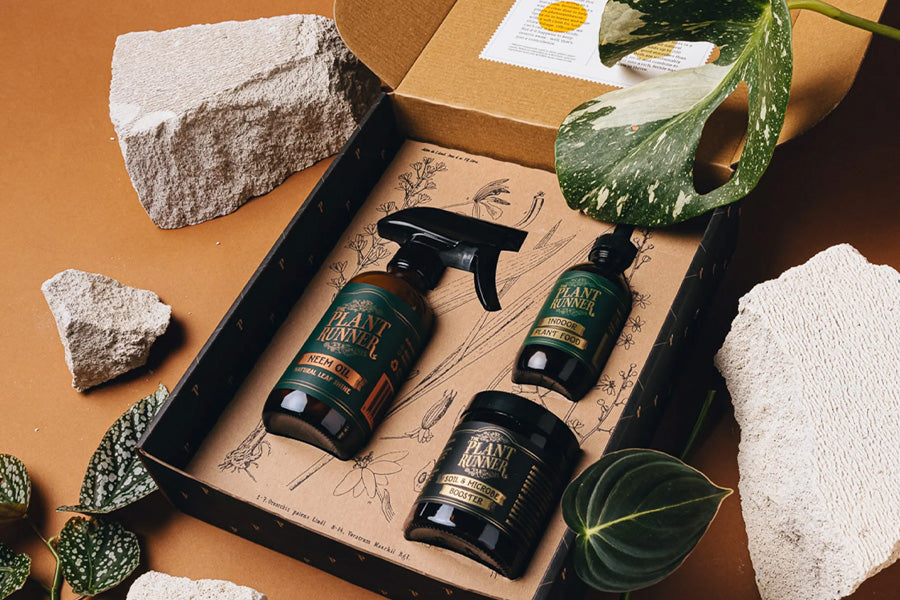
- Always use a quality potting mix! Don’t skimp here, you want to give your plant the best chance of success in its new home.
- We like to create own potting medium made with peat moss, perlite and a good potting mix at a ratio of 1:1:1, and a few teaspoons of slow release fertiliser
All good? Let’s get into it.
-
Replacement pot
-
Potting Mix
-
Chux
-
Secateurs
-
Trowel
-
Old knife
-
Small tarp or sheet

- Loosen the plant in its existing pot. With plastic pots you can often squeeze the sides but ceramic pots can be tricky - especially if you don’t want to resort to breaking it. Take an old knife and run it around the edges to free the plant up. .

- To remove the plant, put your hand over the top of the soil with the plant’s trunk or foliage going up through your fingers. Flip the pot upside down and pull the pot away from the plant in your hand. Fingers crossed gravity is doing most of the work here. Obviously for larger plants, flipping won’t be an option and you’ll have to pull the plant up and out yourself (grab a friend if need be).
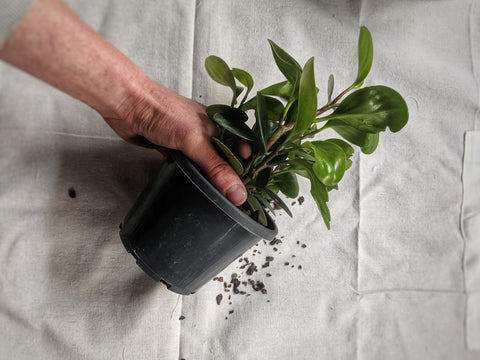
- Once out, give the rootball a bit of a tease to loosen the outermost roots.

-
Place a piece of landscaper’s fabric (a chux wipe will do the same job) over the holes in the bottom of the new pot. This helps prevent any potting mix clogging the drainage holes.


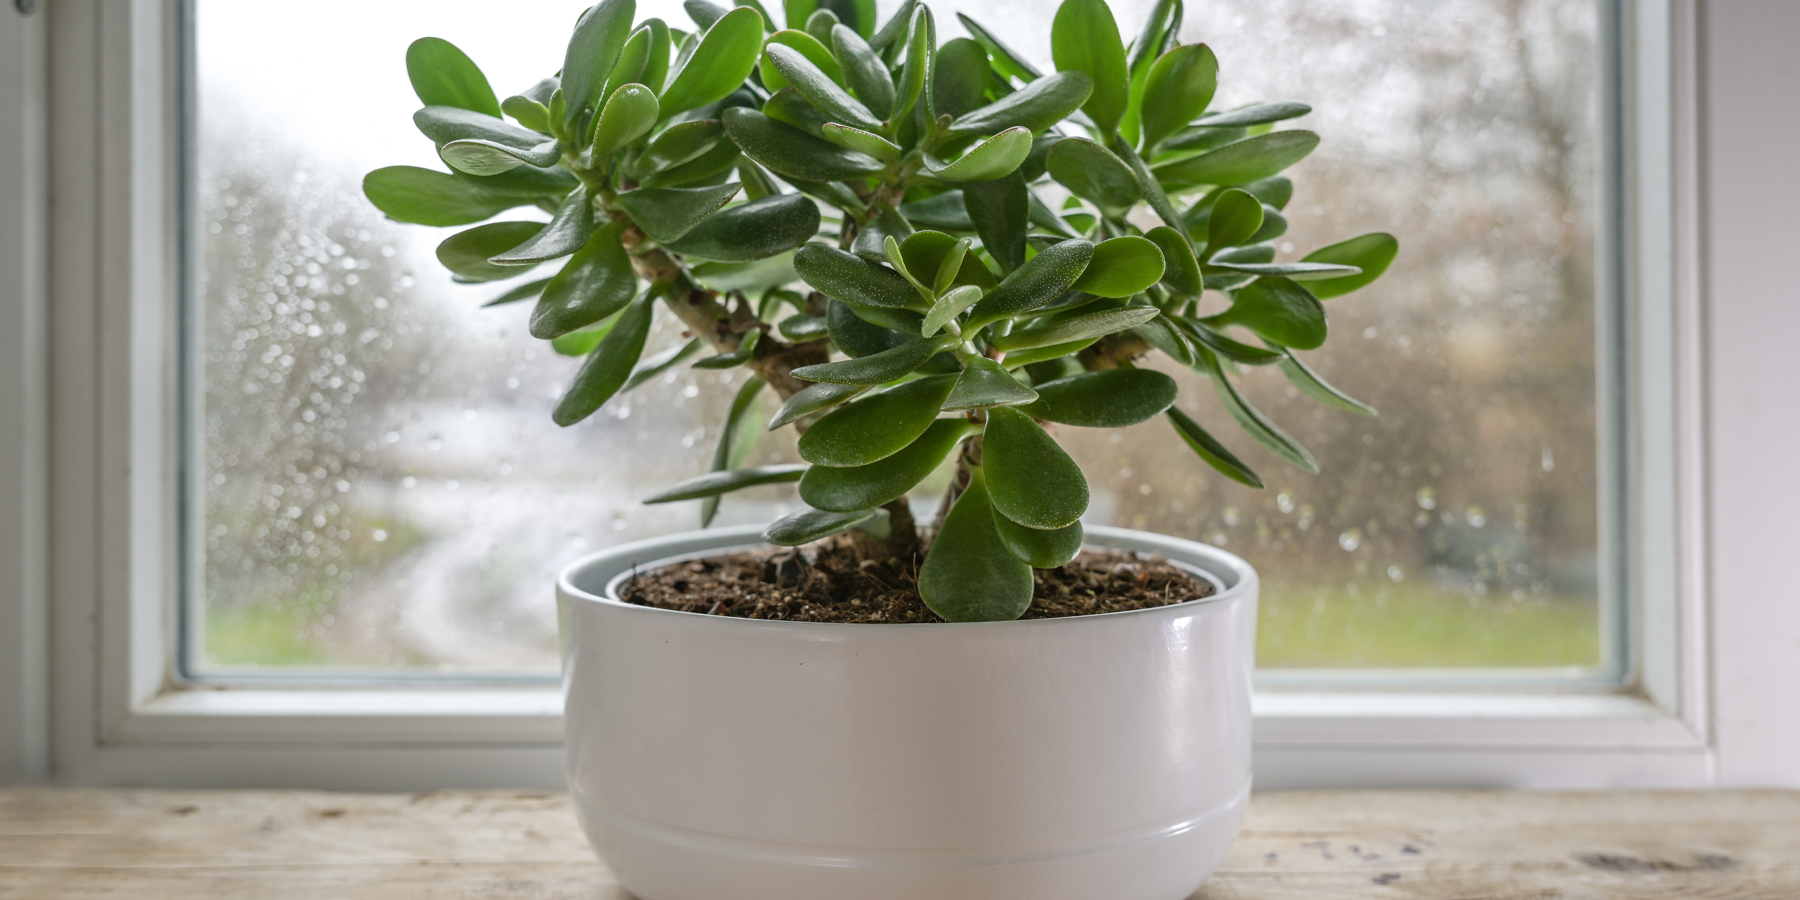
- Fill your pot to the point where your plant will sit at the correct height - remember you don’t want to have the soil level of the plant being flush with the top of the pot! Leave a centimetre or so to prevent water and potting mix spilling out. Once the plant is sitting at the correct height pour or place potting mix around the plant firming it in as you go until you’ve just covered the top of the plant. Try to put the mix in from all sides so that the plant sits in the middle of the pot and not too far to one side.

-
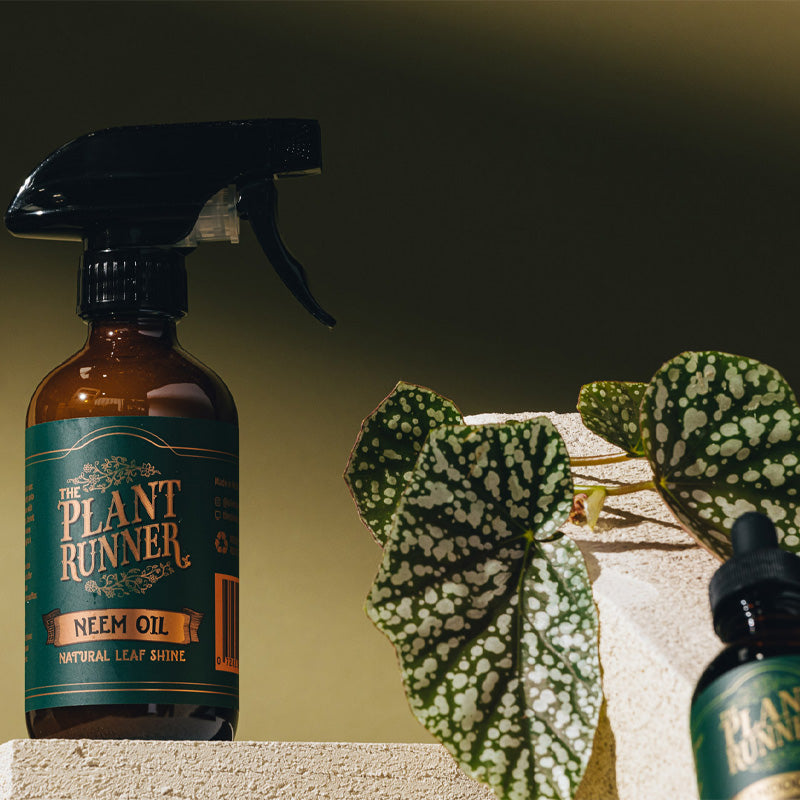
Once the plant is planted firmly in the pot you can feed it with a quality Indoor Plant Food and give them a good drink.


Heads up - a lot of indoor plant pots are sold as ‘Sleeves’, meaning they don’t have a drainage hole. Our tip for this is pot up your plant into a plastic pot that will fit the Sleeve you’ve picked out for it, put some small stones or pebbles in the bottom of the Sleeve for your potted up plant to sit on, and slide it in! (The stones mean your plant won’t be sitting in excess water and you can lift the plant out every now-and-then to drain it. Easy)


Lawrence
September 28, 2019
Excellent work.I like the way you have explained how easy it is to do this,top marks